How To: Make a Beautiful Liner for Your Red Cap Envelope
August 30, 2018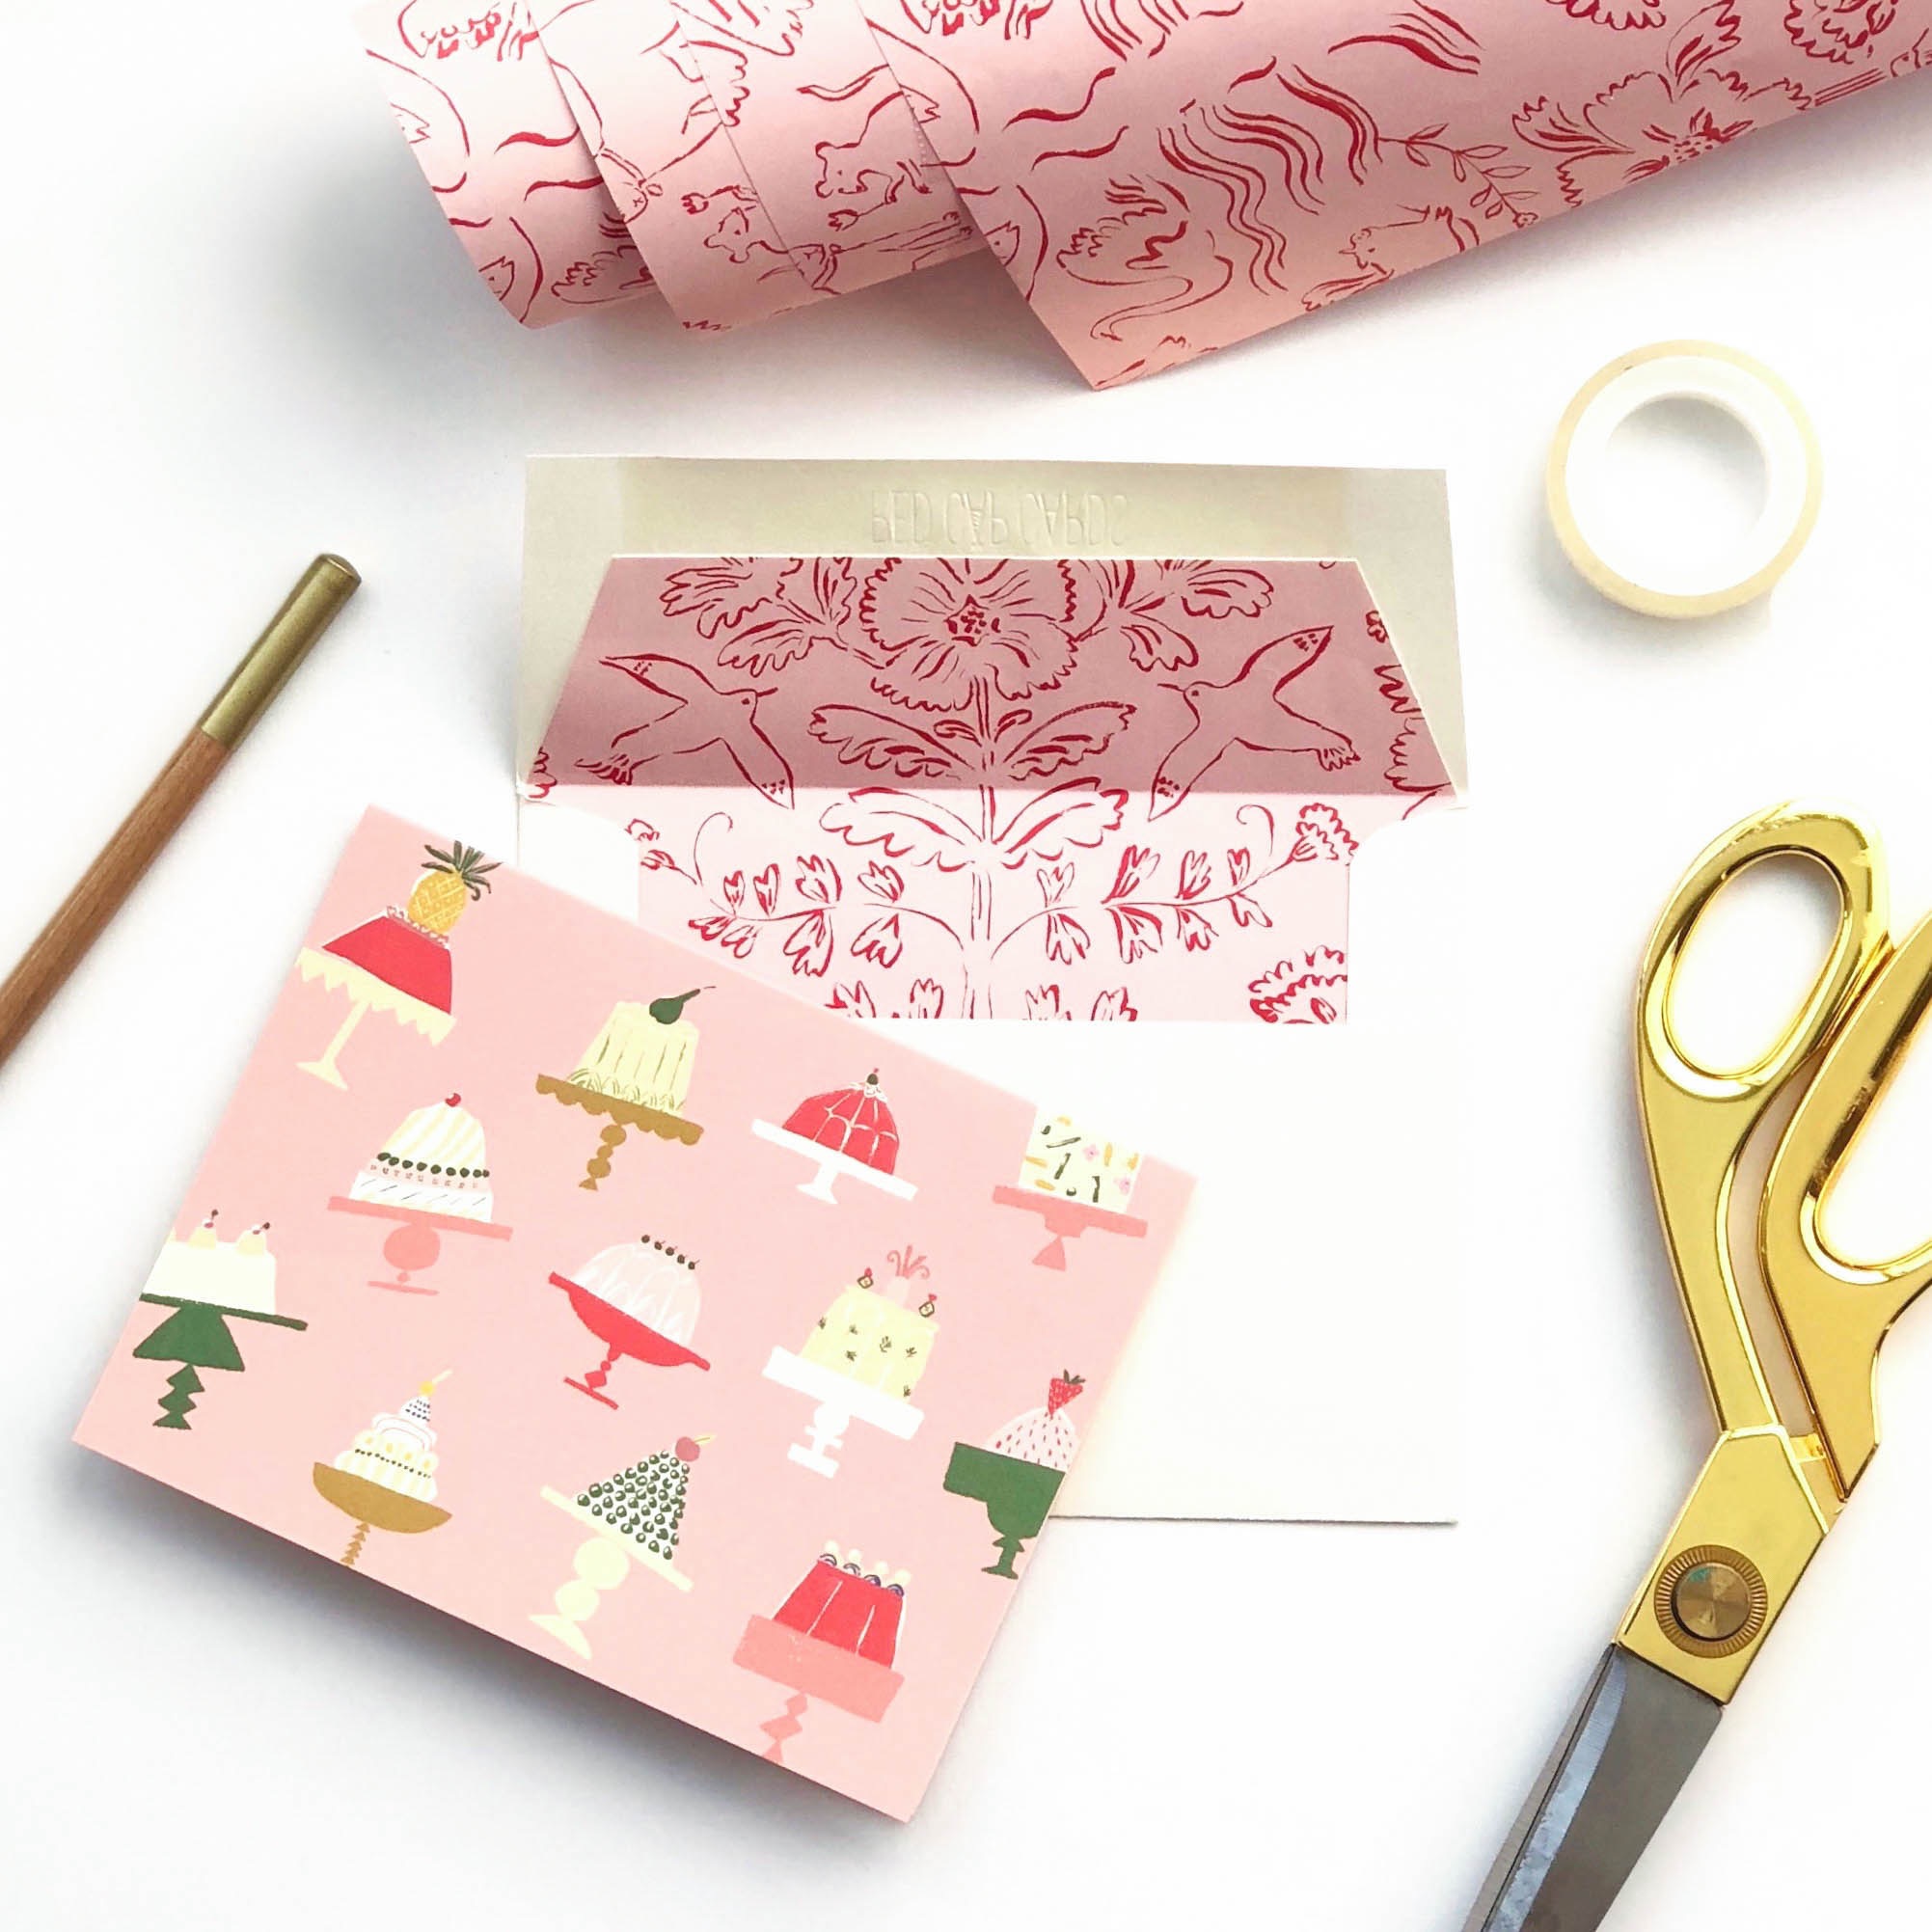
We’ve always loved the elegant touch of a lined envelope, and now we have found a way for you to create your very own if you’d like to experiment with papers and cards and a teeny, tiny bit of crafting along the way.
You will need:
• A sheet of Red Cap gift wrap
• A Red Cap card and envelope
• This handy-dandy printable liner template (print at 100%)
• Scissors
• Double-sided tape
• Pencil
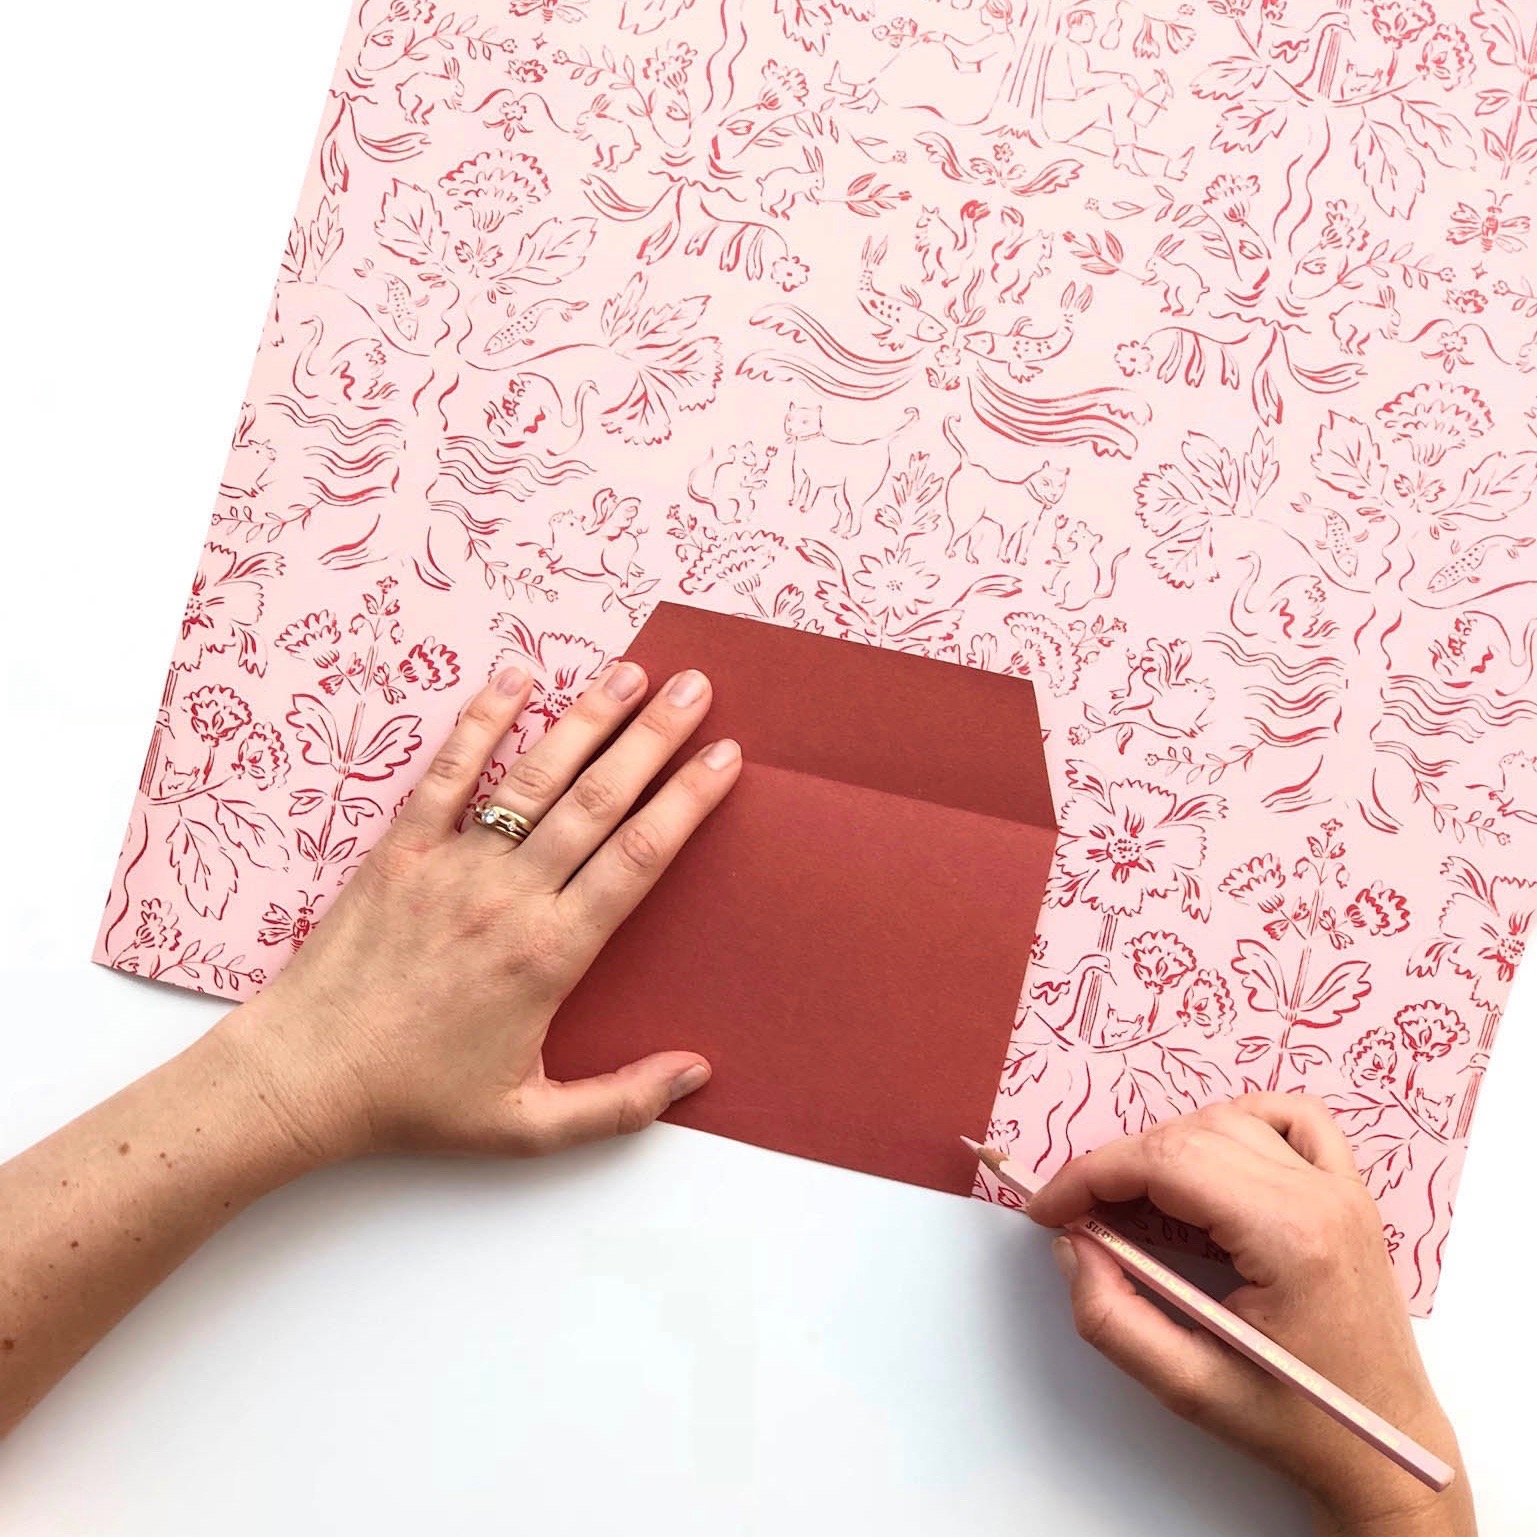
Step One: With your freshly printed and cut-out template (I used a cardstock version so it would be more visible), trace around the edges of the template onto your sheet of gift wrap with a pencil. Don’t forget to line the desired pattern up just right!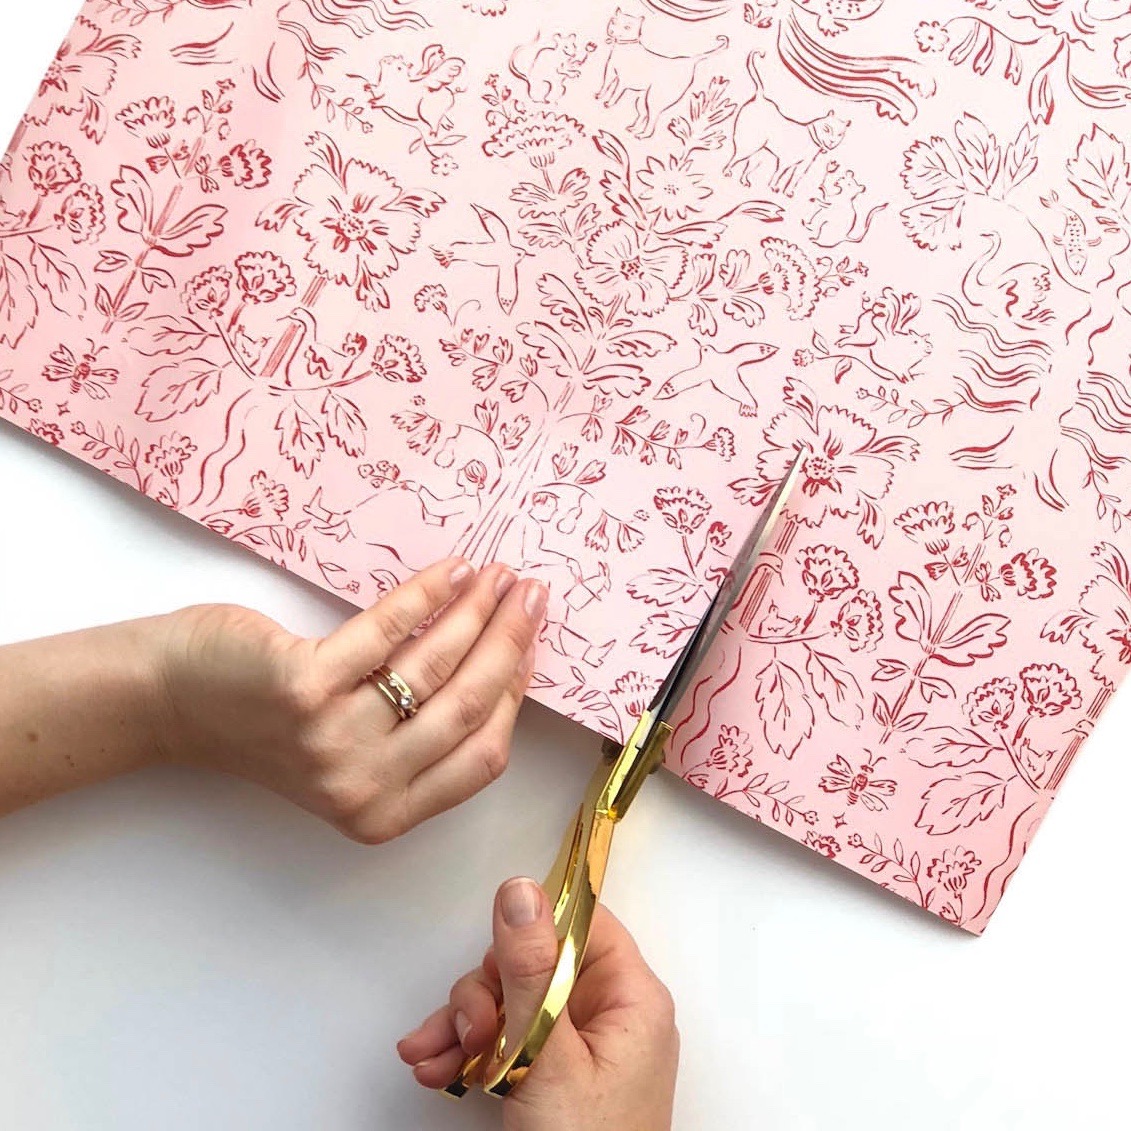
Step Two: Cut out the traced liner, along the interior of the pencil line. 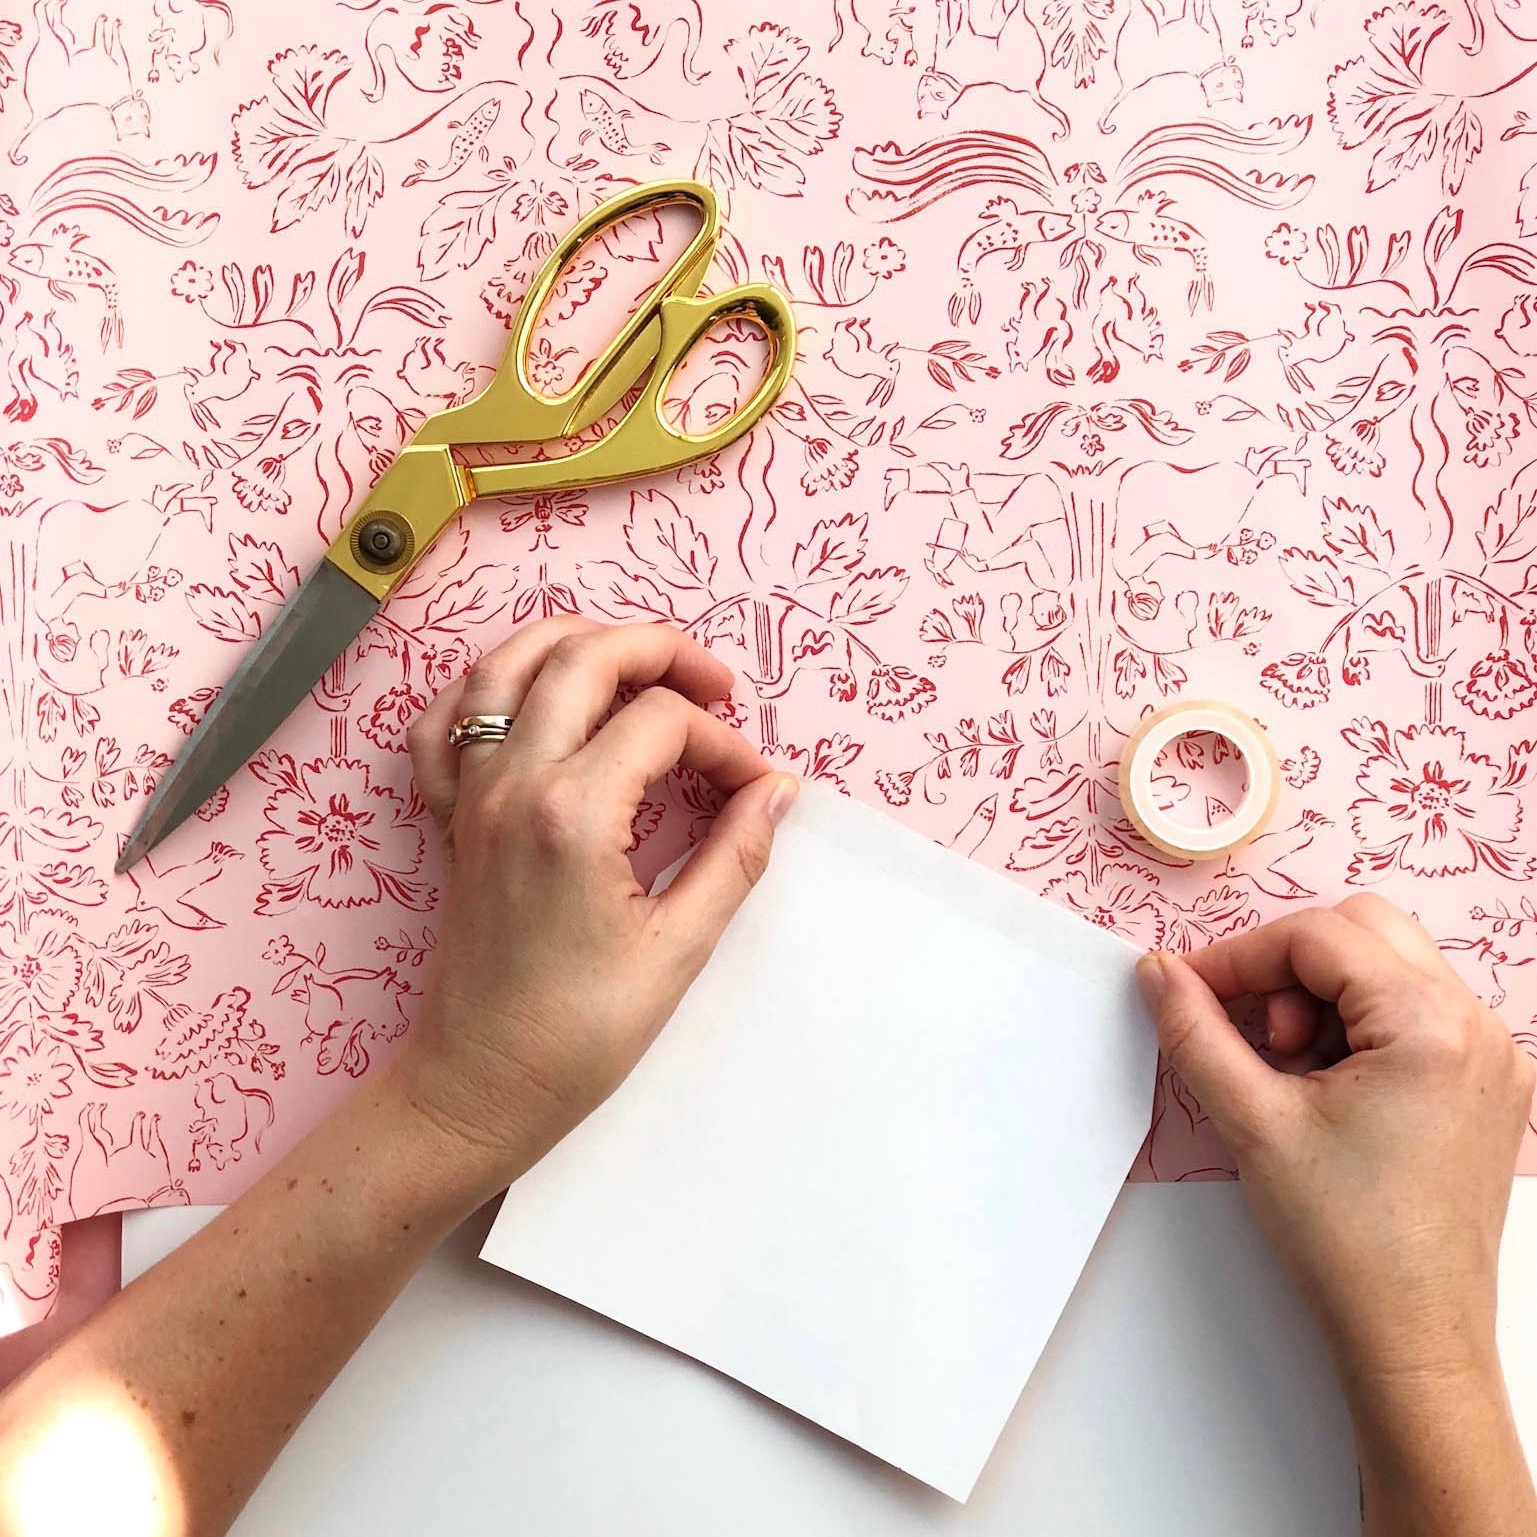
Step Three: On the back-side of the liner, carefully line only the top edge of the liner with double-sided tape. Take care to get that tape all the way across the top, and flush with the edge of the paper. Snip off any excess tape.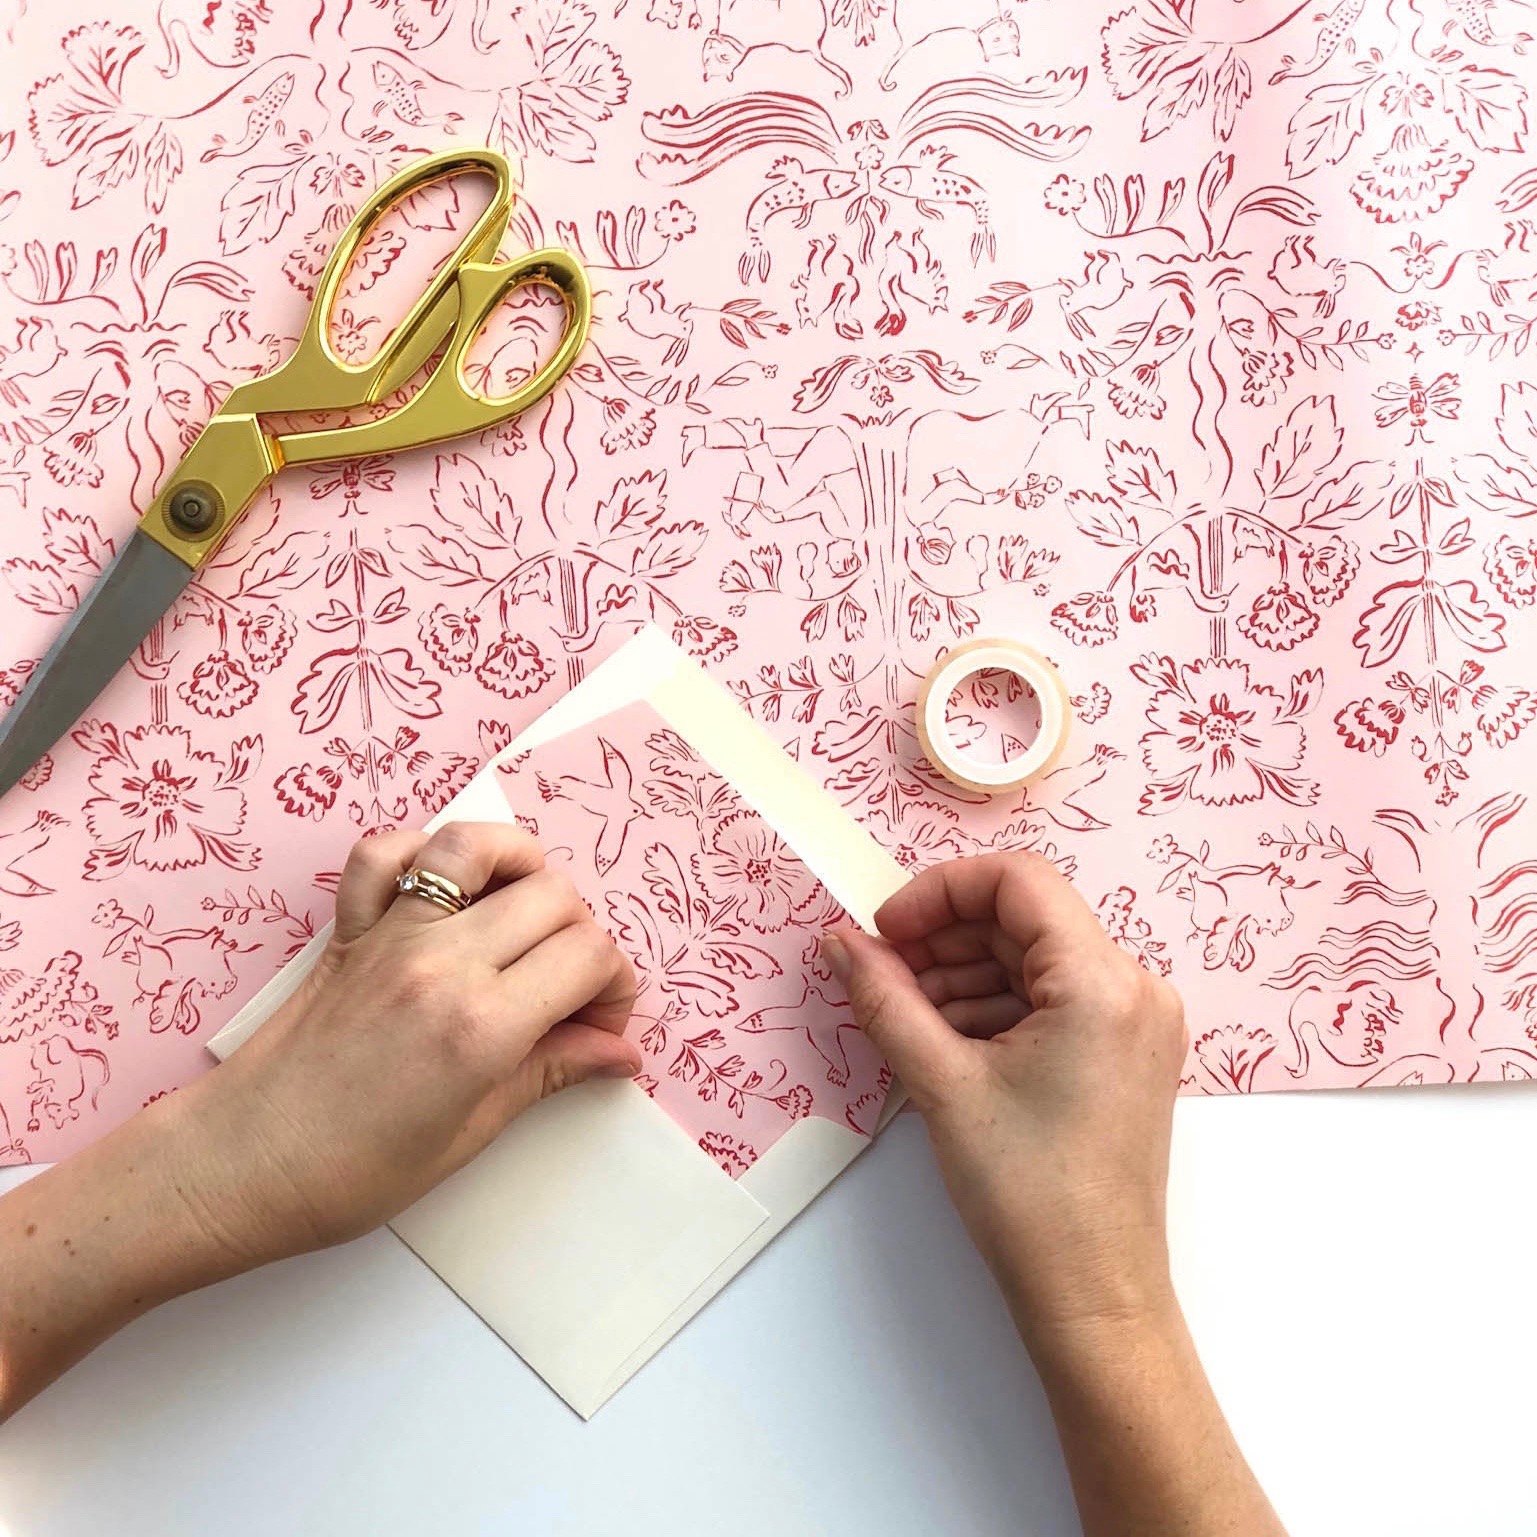
Step Four: Gently guide the liner into the envelope and adhere the taped edge just below the gluey envelope edge. 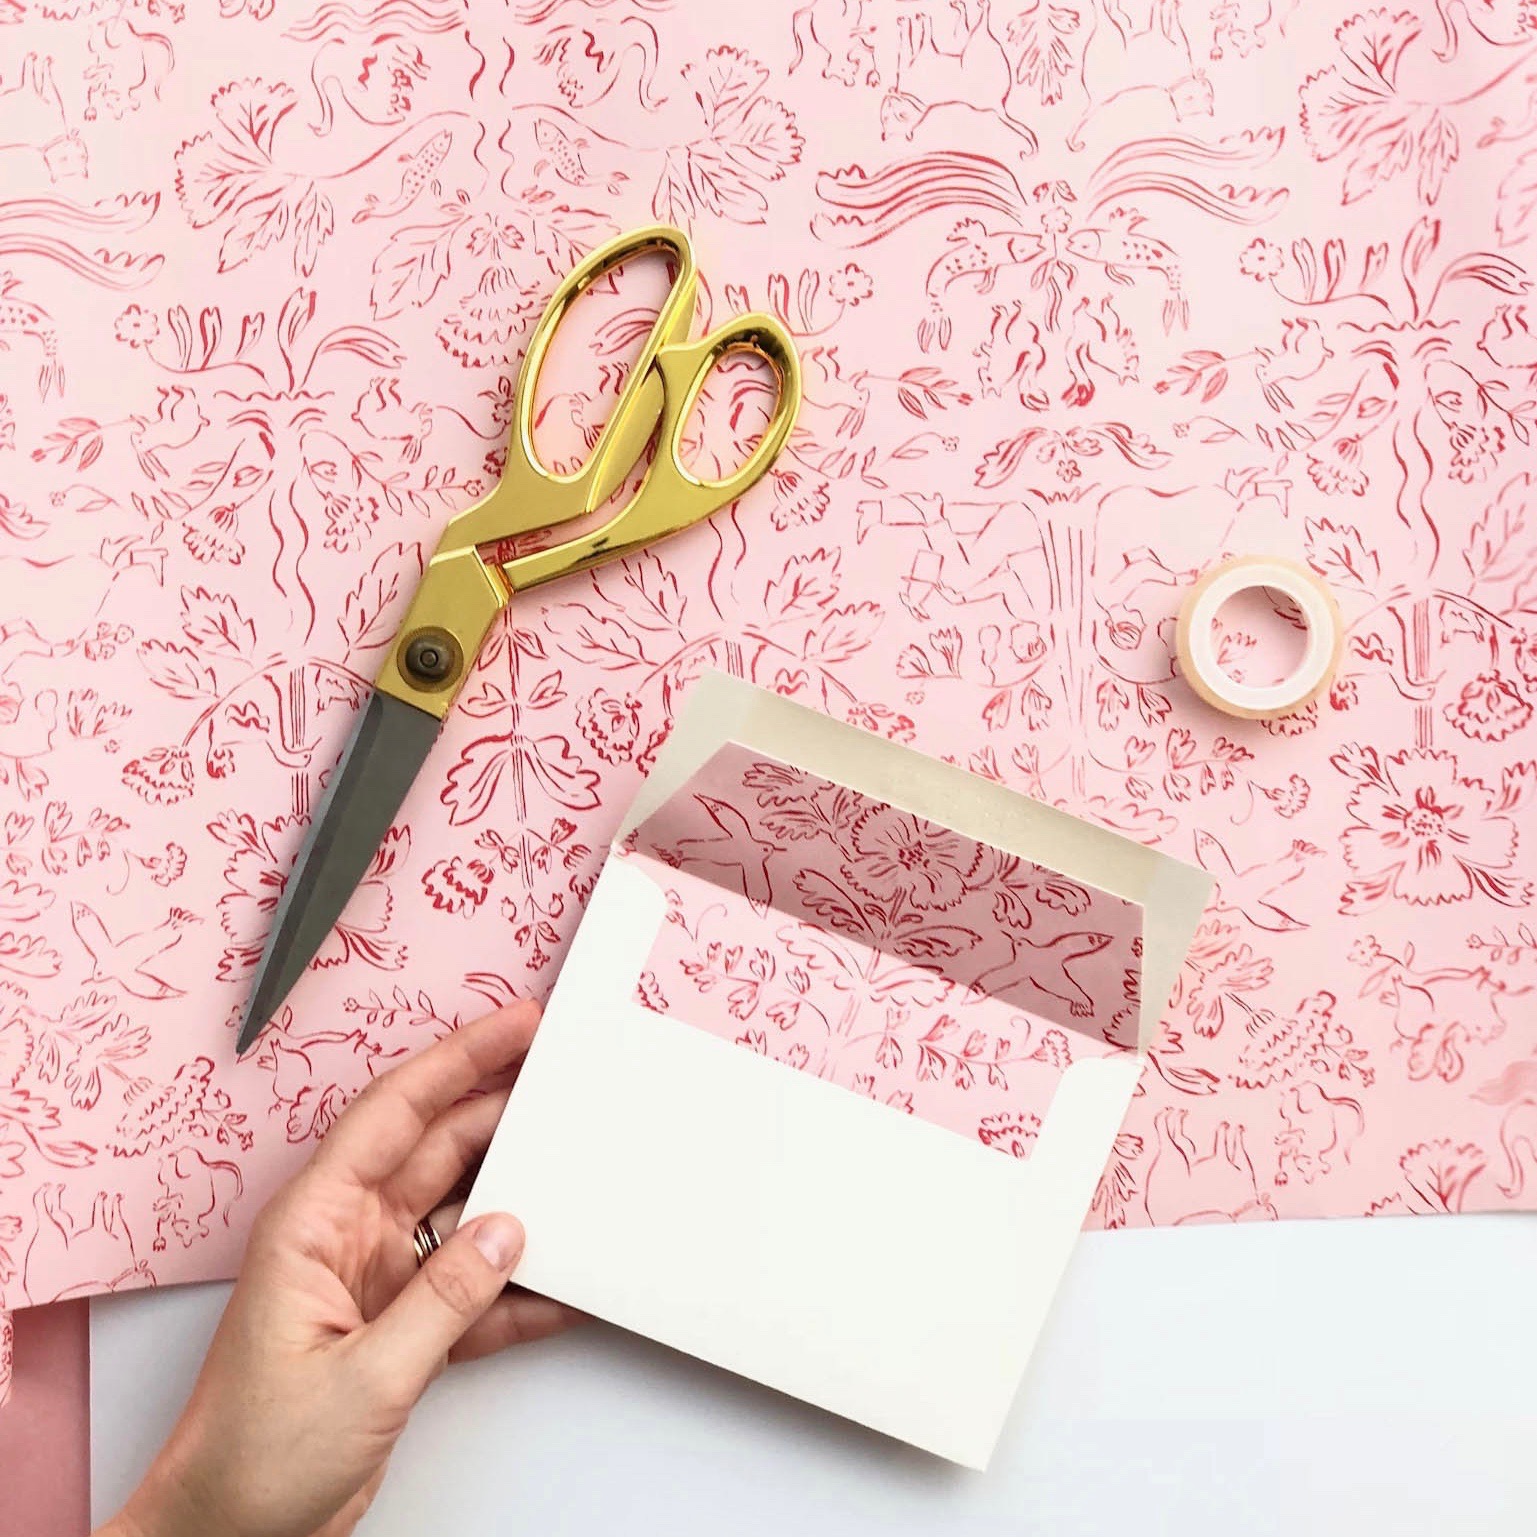
Step Five: Fold the envelope flap down, allowing the paper to move organically into place, to create a nice, clean fold line and voila–it’s complete! Write a loving message and send that card out into the world!! #keeptheloveflowing